
In this post I will explain how to create an OpenStack POC (Proof Of Concept) within your deployed Azure environment. In my case, I am trying to deploy two things:
- Deploy a CentOS Machine. (Which you already should have done by now LINK).
- Deploy Another Test Machine within the same network as the CentOS OpenStack host. (The machine I created above, but don’t worry I will talk you through it :)).
I will be following along an RDO Project. The scripts I have created are to allow me to automate the process.
Step 1: Getting there, Azure Portal
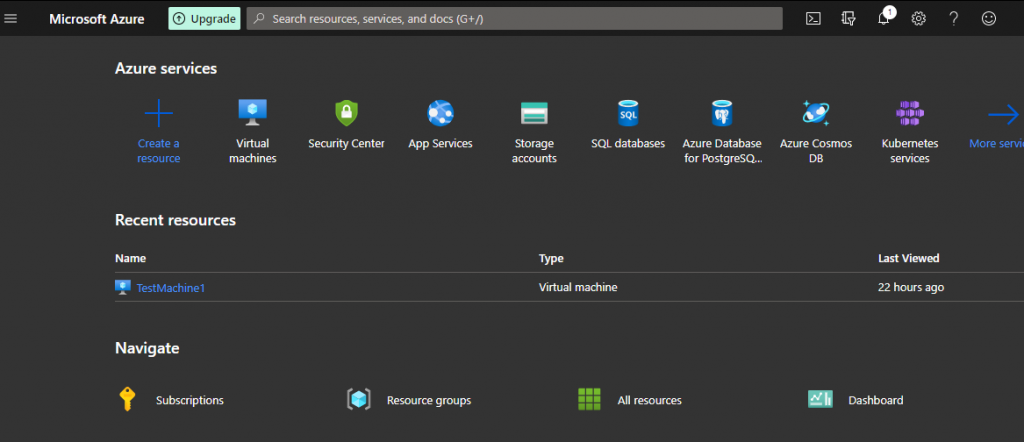
Navigate to the following link:
Viola! you should now see the following:
Step 2: Getting the Scripts.
So I have recently created my Github repository and have been uploading some scripts to help you through the setup. Here’s where to get it:
Following this link will take you to my profile. Where you will find the scripts under the OpenStack_Experiment sub folder, then further the Helpful Scripts sub folder.
Step 3: Installing GIT on CentOS
Now I will proceed to install git on my deployed CentOS Machine (If not yet deployed, and ssh capable follow: LINK). To install git you basically have to enter the following on the command line:
yum install gitYou SHOUDN’T need admin privileges to install git but a quick tip for these situations, not the best solution in the world but you can type the following to get to root (WARNING: Use at your own risk!):
sudo -sNow you should have git installed.
Step 4: Cloning the Helpful Scripts.
Now I will proceed to clone the repository with my Helpful Scripts. Type the following on your CentOS console:
git clone https://github.com/sahilkapila/OpenStack_Experiment.gitThis command now makes a local copy of my repository hosted on GitHub. By a local copy I mean you should now have a copy of the folder an all it’s sub-folders, on your pwd (present working directory). The pwd command shows you the directory your console is in. Try it:
pwd
Success, now you should have all the scripts locally.
Step 5: Changing script permissions.
Once cloned into your pwd, to run the scripts, you must change script permissions. This can be done pretty simply using the chmod command like so:
chmod +wrx <Script_name>Notice this adds the r: read, w: write and x: execute permissions to the script file. You will have to do this recursively to all the script files in the Helpful Scripts sub-folder.
Step 6: Running the scripts.
So now that you have changed the permissions you can use two ways to get to a running OpenStack deployment. I would suggest the easiest method, using the RDO_full_install.sh script. Side not the script is simply:
#!/bin/bash

./RDO_Prereqs_Network.sh
./RDO_SWRepos.sh
./RDO_install_OpenStack.sh
./RDO_run_OpenStack.sh
So the savvy among you will notice all i’m doing is running the RDO installation steps as scripts in a particular order.
Step 7: Waiting for the Install
Great! If you are reading this that means you had the patience to follow this chain of though, deploying an OpenStack test environment in Azure.
Now your console should look something like this:
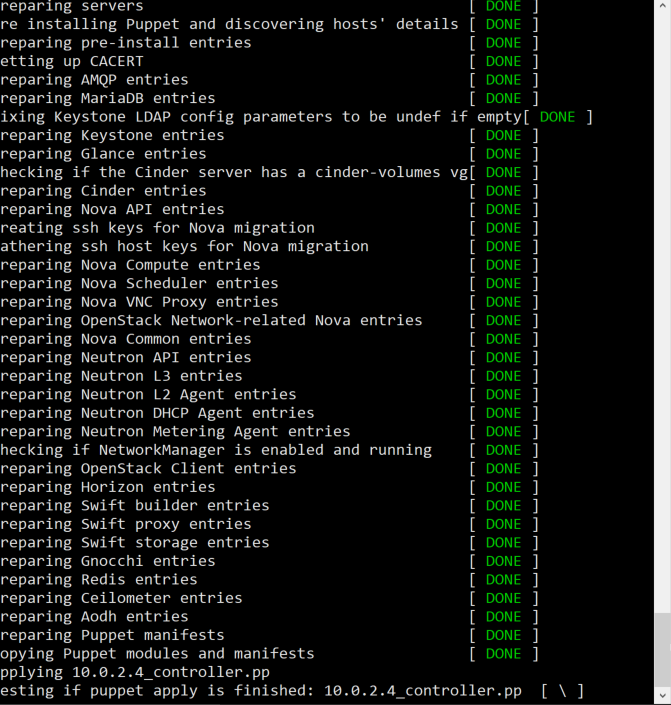
Now you have to do the hardest thing…. WAIT. Allow the scripts to run its course what you should finally end with is a message like this:
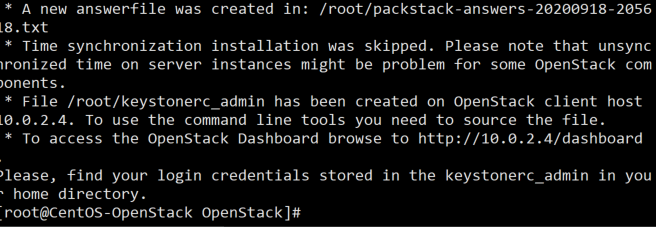
Basically now you see two things:
- The location of the keystonerc_admin file which you will require to login to the OpenStack dashboard.
- The IP Address of your OpenStack dashboard (In my case, 10.0.2.4, you could have a different one but definitely note this down we will need it in a bit!)
Step 8: Creating a Win 10 VM in Azure
Now I will proceed to create a new VM, within the same Resource Group and same network (more on that later!), Result: We can connect to this machine using RDP and then further access our OpenStack Portal.
Navigate to the following link:
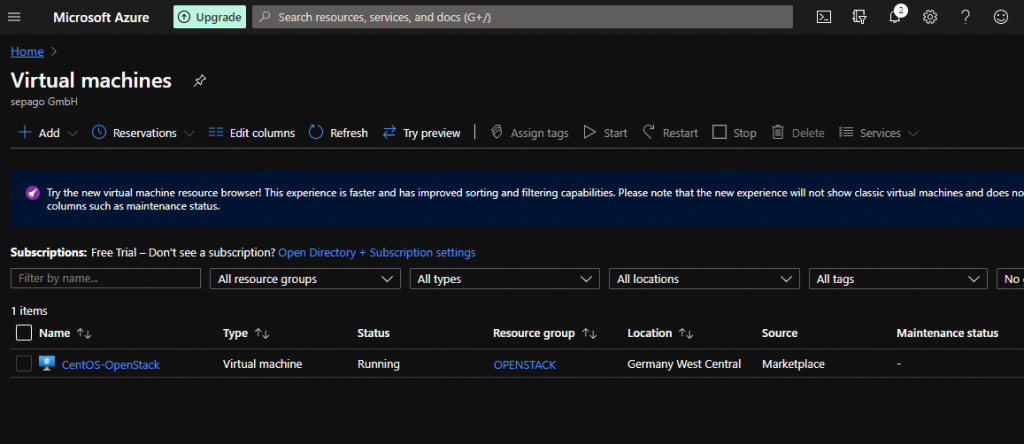
Click on the Virtual Machines blade. You should now see the follwoing:
Goto “+ Add” and add a new “Virtual Machine” with the following specifications (I will only be outlining the things I’ve changed hence forth):
| Attribute | Value | Comments |
| Resource group | OpenStack | I created a resource group called OpenStack you can do the same by following the “create new” link. |
| Virtual machine name | (Pick your own) | I have created a demo machine to get started with OpenStack |
| Image | Windows 10 Pro, Version 1809 – Gen 1 | I picked this so I can use an RDP session, |
| Username | (Pick your own) | This will be the username to authenticate your RDP session and the Windows Account |
| Password | (Pick your own) | This will be the password to authenticate your RDP session and the Windows Account |
| Public inbound ports | Allow selected ports | To establish a RDP session |
| Select inbound ports | RDP (3389) | To establish a RDP session |
Now you will have to select the checkbox acknowledging you have a legitimate windows license. Then click on Next: Disks and set the following:
| Attribute | Value | Comments |
| OS disk type | Premium SSD | Defaults |
| Encyption type | (Default) | Defaults |
| Enable Ultra Disk compatibility | No | Defaults |
Since I already have created disks saved, I selected and attached those. Feel free to experiment the important part is up next, Networking. Once attached click on the “Next: Networking” button.
Here you will have to enter the following:
| Attribute | Value | Comments |
| Virtual network | OpenStack-vnet | I had created my own, so can you by following the “Create new” link. |
| Subnet | (Default) | Defaults |
| Public IP | (new) | Here it defaults to new this is correct as you would want a new public IP on this network for the demo machine. |
Now you can go relatively fast, clicking through the dialog boxes until the “Review+Create” dialog where we have to click on “create” (on the left corner of the dialog box). Now, here comes a redirect to the deployment summary page. Again, here patience is the keyword.
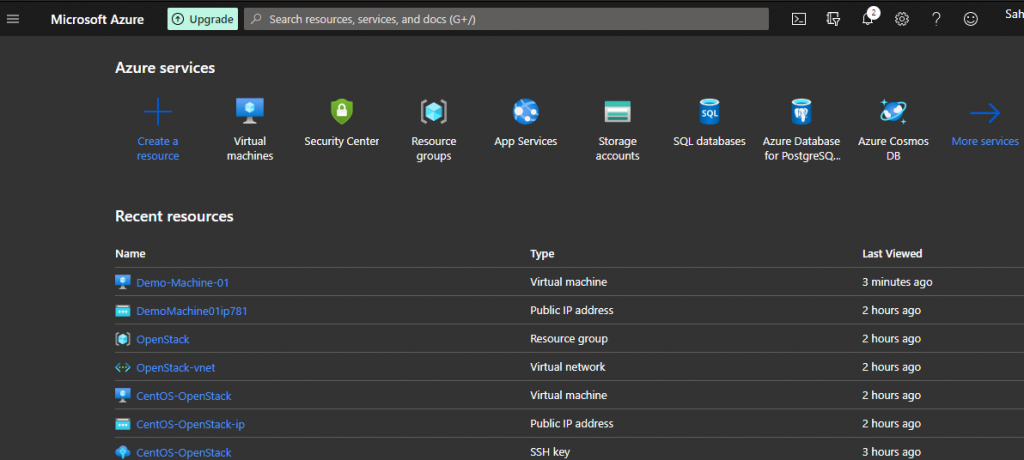
Once deployed navigate to “Home” on the Azure portal and click through “Virtual machines“. Here, you should find the machine you just created.
Step 9: Getting into the Demo VM.
Great so far so good, to recap, we have created two VMs one a CentOS machine the other a Win10 demo machine. Now comes the tricky part, getting in to the Demo VM. But I must say, yet again Microsoft FTW!.
Once you have navigated to the “Virtual machines” blade click on the “Connect” sub-menu. You should now see the following:
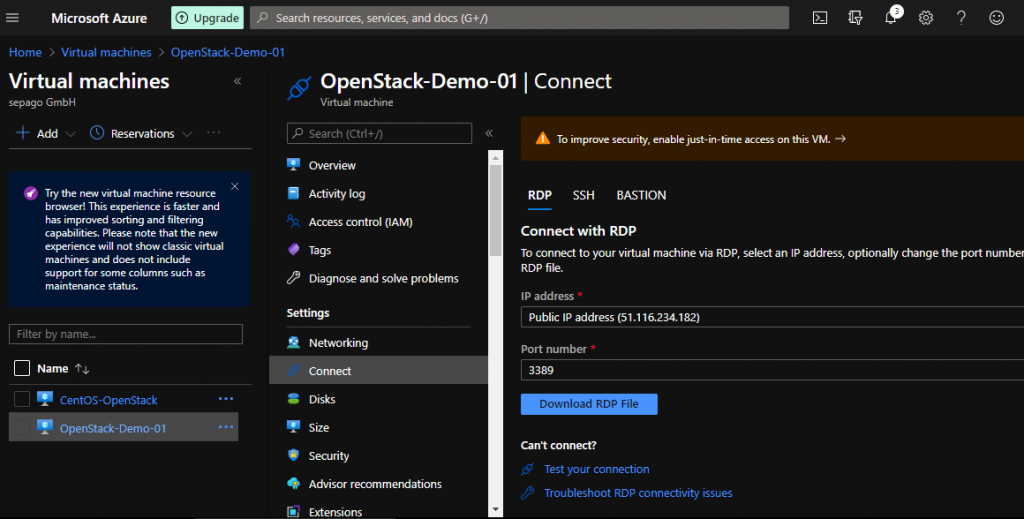
Now here we click on the “Download RDP File” button. Go ahead and save this some where convenient. Since I am running a windows machine I can just go ahead and double click the download to open my connection (not sure but I suppose could work the same for the other platforms).
Once you double-click the RDP file. In windows at least, you see the following:
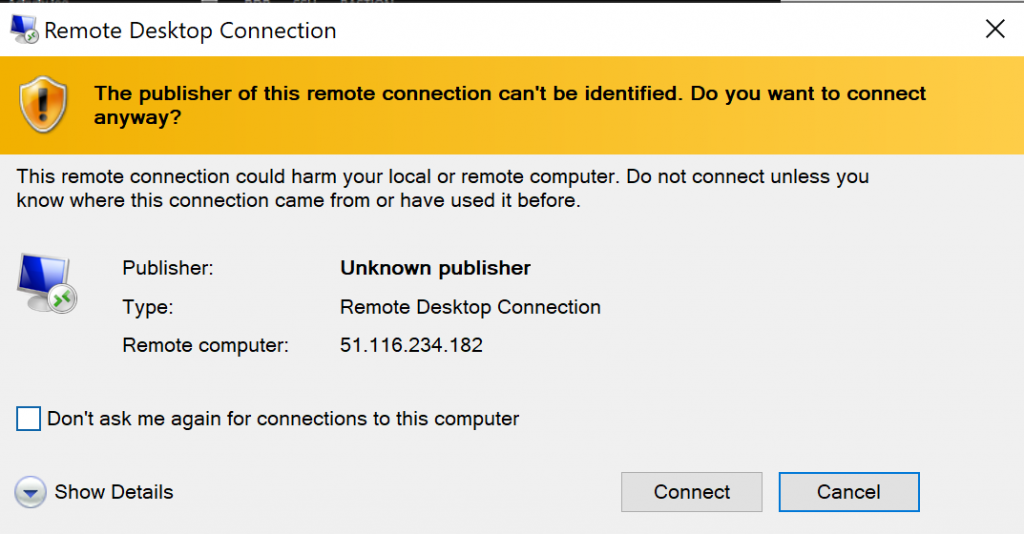
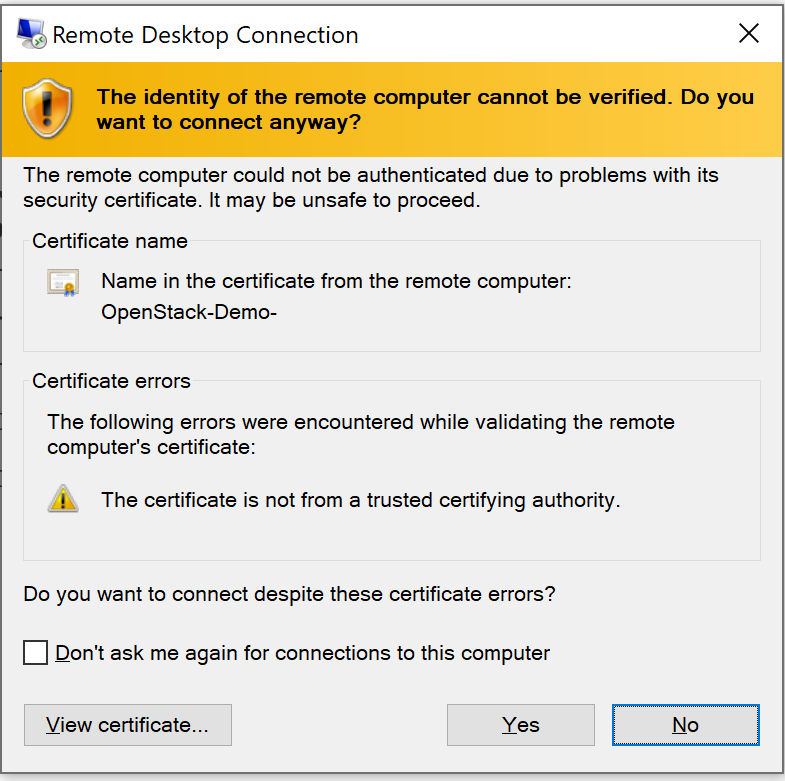
Go ahead and click connect. It should now ask you to authenticate (remember the username and password we setup, get them, you need them!). You should see something like this:
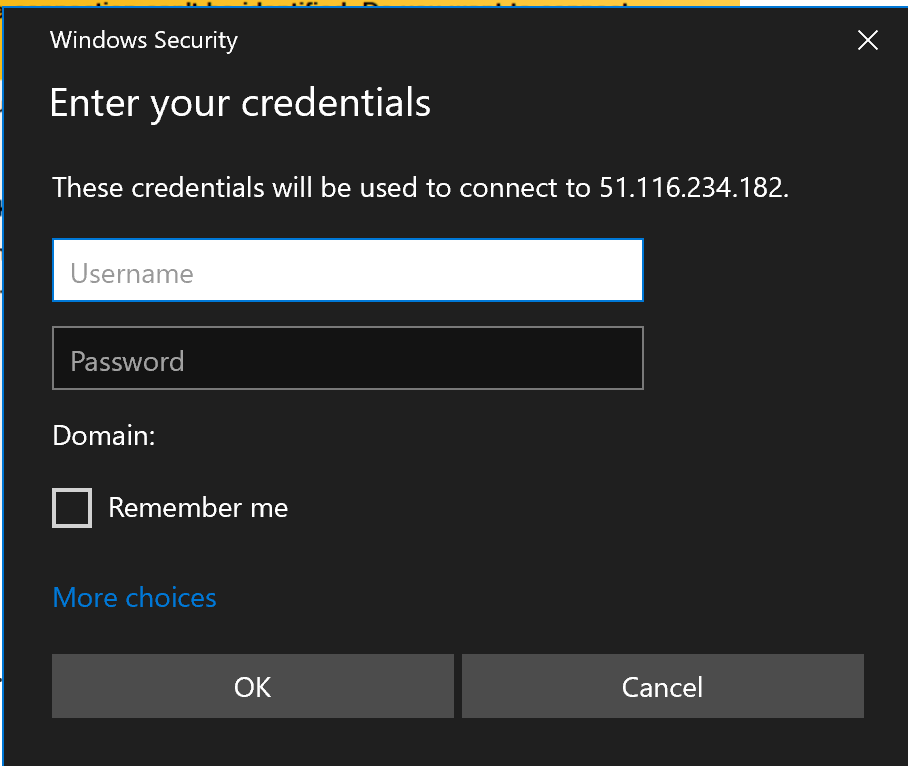
Once you enter the username and password you see the following but go ahead and click “Yes“:
Step 10: Getting to the OpenStack Dashboard
Now that we are successfully connected via RDP to the Demo VM running Win10, we can go ahead and get to the OpenStack dashboard. Simple really, remember the IP address of your CentOS VM, that’s what you will need here.
Once you have that handy, go ahead and open up Explorer within the RDP session. Now enter the following in the search bar (remember this is specific to your details):
http://<your-ip-here>/dashboardYou should see something like this:
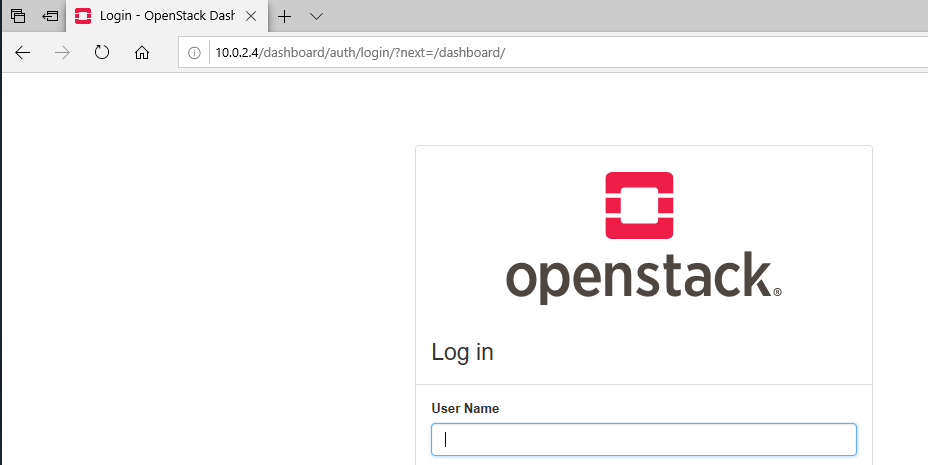
To login you will need the credentials from the “keystonerc_admin” file this will be saved in the “/root/” folder.

Remember at the end of STEP 8 after successfully running the scripts we got a couple of things printed out, you will need this now.
Now enter in the credentials as follows:
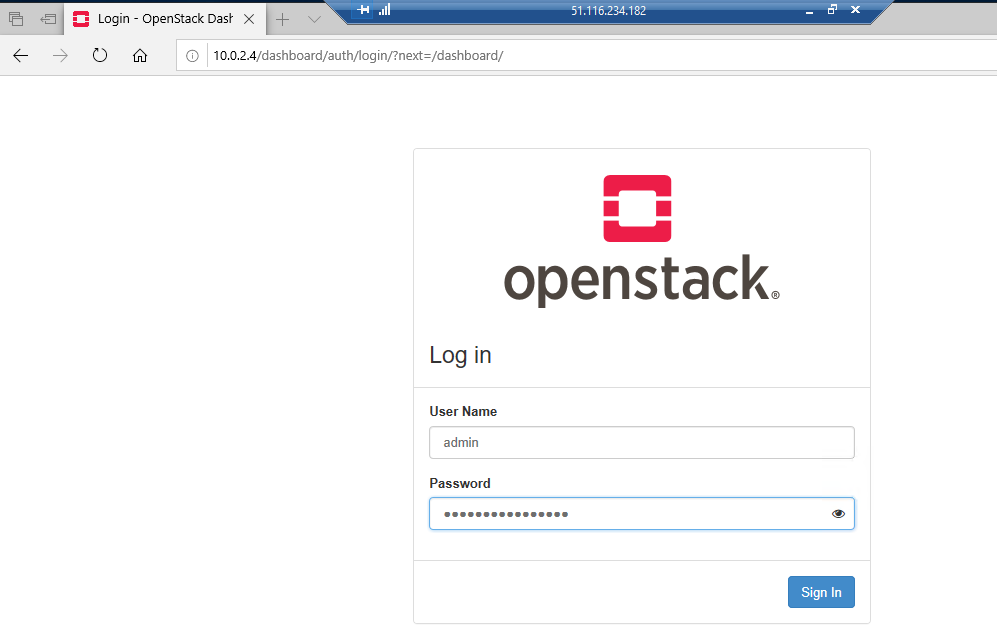
Now that we have entered the credentials we should see the OpenStack Dashboard in all it’s beauty. Should look like follows:

Step 11: Now what!?
Now that we have a test environment setup for an OpenStack POC, feel free to play around in the dashboard, I most certainly will! Keep an eye out for more content.
Very good presentation. Easy to learn. Keep it up
Nice work, Sahil!
How about the cloud-in-the-cloud attack vectors? Tested any of them already?
Not yet but definitely a TO-DO !